Welcome to the RTH6360D1002 Installation Manual․ This guide provides step-by-step instructions for installing and configuring your Honeywell programmable thermostat, ensuring optimal performance and comfort․
1․1 Overview of the RTH6360D1002 Thermostat
The Honeywell RTH6360D1002 is a 5-2 day programmable thermostat designed for compatibility with various HVAC systems․ It features automatic changeover, smart response technology, and a backlit display for ease of use․ This thermostat allows users to schedule temperature settings, ensuring energy efficiency and comfort․ With its intuitive interface, it supports manual or automatic system mode, enabling seamless control over heating and cooling systems․ The RTH6360D1002 is equipped with short cycle protection and is compatible with multiple HVAC configurations․ This thermostat is ideal for homeowners seeking a reliable, programmable solution to regulate their environment effectively․
1․2 Importance of Proper Installation
Proper installation of the RTH6360D1002 thermostat is crucial for ensuring optimal performance, efficiency, and reliability․ Incorrect installation can lead to system malfunctions, higher energy bills, and potential damage to your HVAC system․ A well-executed setup guarantees precise temperature control, smooth operation, and compatibility with your heating and cooling systems․ Additionally, proper installation ensures safety by preventing issues like short cycling or incomplete heating/cooling cycles․ It also allows advanced features, such as Smart Response and automatic changeover, to function correctly․ By following the installation manual carefully, you can avoid common problems and enjoy the full benefits of your programmable thermostat․
Pre-Installation Steps
Before installing the RTH6360D1002 thermostat, confirm compatibility with your HVAC system and gather all required tools and materials for a smooth setup process․
2․1 Checking Compatibility with Your HVAC System
Before proceeding with the installation, ensure the RTH6360D1002 thermostat is compatible with your HVAC system․ This thermostat works with gas, oil, electric, and heat pump systems․ Verify that your system requires a 24V AC power supply, as the RTH6360D1002 is designed for such systems․ Incompatible systems may lead to improper functionality or safety hazards․ Check the HVAC system’s specifications to confirm compatibility․ If unsure, consult a professional or refer to your HVAC system’s manual․ Proper compatibility ensures efficient performance and avoids potential malfunctions․ Additionally, confirm if a C-wire is required for your setup, as this may affect installation․
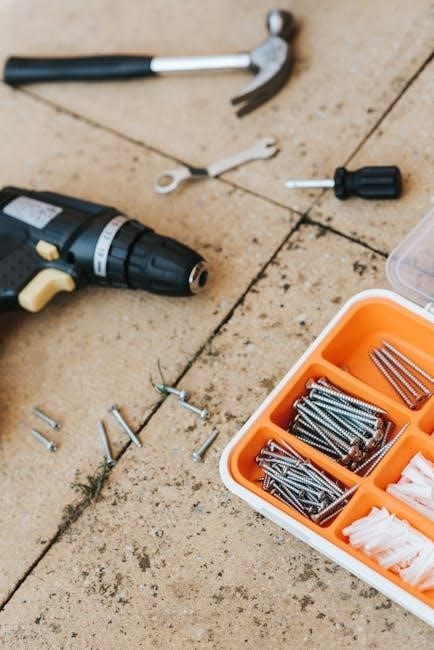
2․2 Gathering Required Tools and Materials
To ensure a smooth installation process, gather all necessary tools and materials beforehand․ You will need a wire stripper, needle-nose pliers, and a drill with appropriate bits for wall mounting․ Additionally, prepare wall anchors and screws if your walls require extra support․ A screwdriver (both Phillips and flathead) is essential for removing the old thermostat and securing the new one․ Keep the thermostat unit, mounting hardware, and the provided Quick Installation Guide readily accessible․ Organize these items to avoid delays and ensure all components are accounted for․ This preparation will help you complete the installation efficiently and safely․
Installation Process
Remove the old thermostat, then mount and connect the new RTH6360D1002, ensuring all wires are securely attached․ Complete the installation by powering on and testing functionality․
3․1 Removing the Old Thermostat
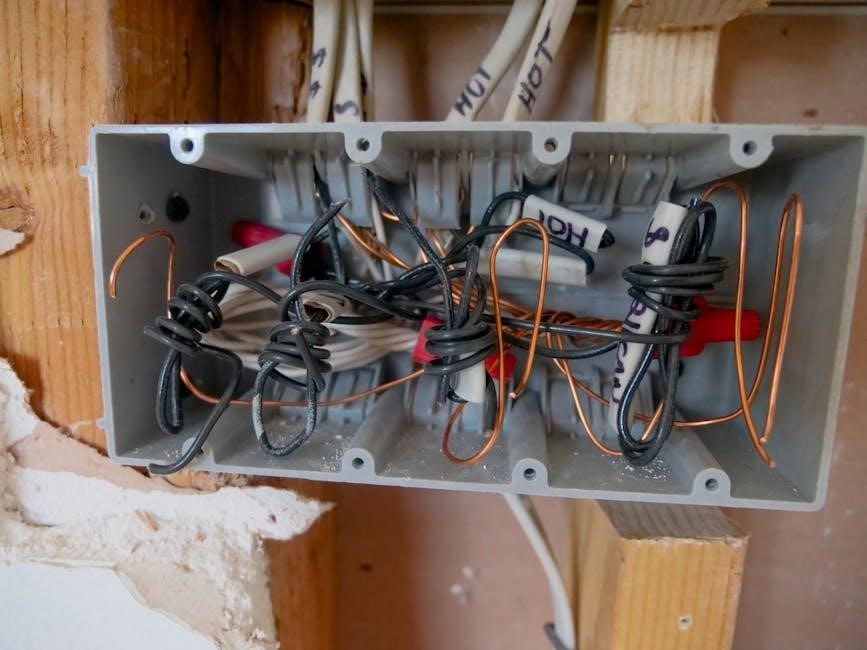
Start by turning off the power to your HVAC system at the circuit breaker․ Remove the faceplate of the old thermostat by gently pulling or unscrewing it․ Carefully disconnect the wires from their terminals, noting their colors and positions for later reference․ If the old thermostat is hardwired, ensure all connections are safely detached․ Once all wires are free, remove any remaining screws or clips holding the thermostat in place․ Gently pull the thermostat away from the wall, taking care not to damage the wires or mounting bracket․ Set the old thermostat aside for disposal․
3․2 Mounting the New Thermostat
Ensure the wall is clean and free of debris․ Peel the backing from the adhesive strip on the thermostat’s mounting bracket and press it firmly against the wall, aligning it level․ If using screws, drill pilot holes if necessary and insert wall anchors․ Mount the thermostat using the provided screws, ensuring it is secure and level․ Gently pull the wires through the mounting hole, taking care not to damage them․ Tighten all screws firmly to hold the thermostat in place․ Double-check the alignment and ensure the thermostat is flush against the wall for a professional finish․ Proceed to connect the wires in the next step․
3․3 Connecting Wires to the Thermostat
Turn off the power to your HVAC system at the circuit breaker before connecting any wires․ Use a wire stripper to expose the ends of the wires․ Match the wires from your old thermostat to the new RTH6360D1002, ensuring the labels (e․g․, R, W, Y, G, C) align correctly․ Insert the wires into their corresponding terminals, securing them firmly․ If your system lacks a common wire (C), check if the thermostat supports “C-wireless” operation․ Double-check all connections for tightness and accuracy․ Avoid crossing or pinching wires, as this can cause malfunctions․ Once connected, restore power and test the system to ensure proper functionality․
3․4 Completing the Physical Installation
After connecting the wires, secure the RTH6360D1002 thermostat to the wall using the provided screws․ Tighten all screws firmly to ensure a stable installation․ Trim any excess wire and tuck them neatly into the wall or mounting plate․ Close the thermostat’s front cover, ensuring it clicks into place securely․ Restore power to your HVAC system and test the thermostat by switching between heating and cooling modes to confirm proper functionality․ Double-check that all wires are properly seated and no connections are loose․ Finally, ensure the display is responsive and all features are accessible before proceeding to the initial setup and configuration․

Initial Setup and Configuration
Power on the thermostat and follow on-screen prompts to set the current date, time, and HVAC system type․ Adjust temperature ranges for optimal comfort and energy efficiency․
4․1 Powering On the Thermostat
After completing the physical installation, power on the thermostat by ensuring it is connected to your HVAC system․ Verify that the display lights up and shows the home screen․ If the screen remains blank, check the wiring connections and power source․ Once powered on, the thermostat will guide you through an initial setup process․ Follow the on-screen instructions to confirm system settings and preferences․ This step ensures the thermostat is ready for configuration and operation․ Proper power-up is essential for functionality and accuracy in temperature control․
4․2 Setting Up the Initial Configuration
After powering on the thermostat, navigate through the menu to set up the initial configuration․ This includes selecting your system type, preferred temperature units, and time format․ Use the navigation buttons to scroll through options and confirm settings․ Ensure the date and time are accurate for scheduling functionality․ Configure system preferences such as heat/cool thresholds and fan operation․ Access the installer setup menu for advanced options like adjusting cycle rates or enabling smart response technology․ Once all settings are configured, review and save them to complete the initial setup process․ Proper configuration ensures the thermostat operates efficiently and aligns with your comfort preferences․
4․3 Scheduling Temperature Settings
Scheduling temperature settings allows you to create a customized comfort plan․ Use the thermostat’s menu to set specific temperatures for different times of the day․ For example, set a lower temperature when you’re asleep or away and a higher temperature when you’re home․ The RTH6360D1002 supports 5-2 day programming, enabling distinct schedules for weekdays and weekends․ Press the menu button, navigate to the scheduling section, and use the arrows to adjust temperatures․ Save your settings to ensure the thermostat follows your schedule․ This feature helps optimize energy usage and maintain consistent comfort levels throughout the day․ Regularly review and adjust the schedule as needed․
Advanced Features and Settings
Explore advanced features like Smart Response Technology, adjustable screen brightness, and automatic system mode for enhanced comfort and energy efficiency․ Customize settings to suit your preferences․
5․1 Enabling Smart Response Technology
Smart Response Technology optimizes your HVAC system’s performance by learning your home’s temperature patterns․ To enable it, navigate to the advanced menu by pressing and holding the Menu and Select buttons for 5 seconds․ Use the arrows to scroll to System Setup, then select Smart Response and choose “Yes․” This feature adjusts heating and cooling cycles to maintain consistent comfort while saving energy․ Ensure it’s enabled for optimal performance and efficiency․ Refer to your manual for detailed steps and customization options to tailor the feature to your preferences and lifestyle needs․
5․2 Adjusting Screen Brightness and Display Settings
To customize your thermostat’s display, navigate to the settings menu by pressing the Menu button․ Use the arrow keys to scroll to Display Settings․ Here, you can adjust the screen brightness by selecting from multiple levels or enabling auto-dim mode․ Additionally, you can set the backlight timeout to turn off the display after a period of inactivity, conserving energy․ Some models also allow adjusting the display contrast for better visibility․ Save your preferences to ensure the settings are applied․ These adjustments enhance user experience and optimize energy efficiency․ Refer to the manual for specific button sequences and options available on your RTH6360D1002 model․
5․3 Configuring Automatic System Mode
To configure the automatic system mode on your RTH6360D1002 thermostat, navigate to the system settings menu․ Press and hold the Menu button, then use the arrow keys to scroll to System Setup․ Select the option for Automatic System Mode and choose between enabled or disabled․ Enabling this feature allows the thermostat to automatically switch between heating and cooling based on the temperature settings․ If disabled, you can manually control the system mode․ Save your selection to apply the changes․ This feature enhances comfort by automatically adjusting the system to maintain your desired temperature․ Refer to the manual for detailed button sequences and additional configuration options․
Troubleshooting Common Issues
Address common issues like a blank display or system malfunctions by checking power, wiring, and connections․ Access the installer setup for advanced troubleshooting options to resolve operational problems efficiently․
6․1 Fixing a Blank Display
If your RTH6360D1002 thermostat displays a blank screen, start by ensuring it is properly powered․ Verify that the HVAC system’s power is on and check for loose or disconnected wires․ Reset the thermostat by removing the batteries or switching off the power at the circuit breaker for 30 seconds․ If the issue persists, inspect the wiring connections for damage or corrosion․ Ensure the display brightness is not set too low; adjust the screen settings via the menu․ If these steps fail, perform a factory reset or consult the troubleshooting section for advanced solutions to restore the display functionality․
6․2 Resolving System Malfunctions
Addressing system malfunctions with your RTH6360D1002 thermostat starts with verifying the power supply and ensuring all wiring connections are secure and correct․ Consult the wiring diagram in the manual to confirm proper connections․ If issues persist, reset the thermostat by turning it off and on again․ Check the system mode settings to ensure they align with your HVAC system’s operation․ Verify temperature settings and adjust if necessary․ Consider updating the thermostat’s firmware to resolve any software-related issues․ If problems remain, perform a factory reset, but be aware this will reset all custom settings․ For persistent issues, refer to the manual’s troubleshooting section or contact customer support for further assistance․ Always prioritize safety by turning off power before making adjustments․

Maintenance and Upkeep
Regular maintenance ensures your RTH6360D1002 thermostat operates efficiently․ Clean the display gently, check for software updates, and verify wire connections to maintain optimal functionality and performance․
7․1 Cleaning the Thermostat
Regular cleaning of your RTH6360D1002 thermostat is essential for maintaining its performance and longevity․ Use a soft, dry cloth to gently wipe the display and exterior surfaces․ Avoid harsh chemicals or abrasive materials, as they may damage the screen or housing․ For stubborn dirt or smudges, lightly dampen the cloth with water, but ensure it is not soaking wet to prevent moisture damage․ Clean the thermostat when it is powered off to avoid any accidental adjustments․ Regular cleaning prevents dust buildup, ensuring accurate temperature readings and smooth operation․ This simple maintenance step helps preserve the thermostat’s functionality and appearance over time․
7․2 Updating Software or Firmware
Keeping your RTH6360D1002 thermostat’s software up to date ensures optimal performance and access to the latest features․ To update the firmware, first, check the current version in the system settings․ Visit Honeywell’s official website to download the latest update file․ Transfer the update to a USB drive and insert it into the thermostat’s USB port․ Navigate to the installer setup menu by pressing and holding the Menu and Select buttons for 5 seconds․ Follow the on-screen instructions to complete the update․ Do not disconnect power or remove the USB drive during the process, as this could cause system issues․ Regular updates ensure compatibility and enhance functionality․ Always verify the update source for security․
With the RTH6360D1002 installed and configured correctly, your system will operate efficiently, providing consistent comfort and energy savings․ Refer to this manual for future maintenance and updates․
8․1 Final Checks for Proper Functionality
After completing the installation, verify that the thermostat powers on and the display is active․ Ensure all wires are securely connected and the system operates smoothly․ Test heating and cooling modes to confirm proper functionality․ Check that the programmed schedules are active and adjust as needed․ Verify that the thermostat responds correctly to manual temperature adjustments․ Ensure the screen brightness and automatic system mode settings are configured to your preferences․ Finally, confirm that the thermostat maintains the desired temperatures consistently․ These final checks ensure your RTH6360D1002 is installed correctly and ready for optimal performance․
8․2 Ensuring Optimal Performance
Regular maintenance is key to ensuring your RTH6360D1002 thermostat operates efficiently․ Clean the device periodically to remove dust and debris that may affect performance․ Check and update the software or firmware to access the latest features and improvements․ Verify that the battery levels are adequate if your thermostat is battery-powered․ Ensure all system settings, such as temperature ranges and scheduling, are configured correctly․ Avoid exposing the thermostat to extreme temperatures or direct sunlight, as this may impact accuracy․ Finally, review and adjust settings periodically to align with seasonal changes or lifestyle adjustments․ Proper upkeep ensures reliable operation and energy efficiency․